
VS Code setup has become one of the most popular code editors in the world of software development – rightfully so. Its lightweight nature, extensive extension library, and cross-platform nature make it a preferred solution to both developers and data analysts and designers alike.
Both Windows and Mac are compatible with the VS Code setup, but a correct installation is necessary to ensure two key factors: optimal performance, improved productivity, and reduced configuration problems. We will step by step in this all-inclusive guide to take you through the VS Code setup process on the two operating systems.
What is Visual Studio Code (VS Code)?
VS Code setup is an open-source and free code editor that is produced by Microsoft. It is a tool that is indispensable to the developer since it supports many programming languages like Python, JavaScript, TypeScript, C++, Java, HTML, and CSS.
- It comes with features like:
- Smart code completion (IntelliSense)
- Built-in Git integration
- Debugging tools
Themes and extensions can be customized.
The prerequisite to your VS Code setup is to make certain that your system matches the minimum requirements.
 System Requirements
For Windows
- Windows 10 or more (64-bit is advisable)
- Memory 1 GB RAM (2 GB or higher suggested)
- 200 MB of free disk space
For Mac
- macOS 10.11 (El Capitan) or later
- RAM 1 GB (2 GB or higher will be better)
- 200 MB of free disk space
VS Code Setup on Windows
Installation of VS Code on Windows is quick and easy. Follow these steps:
Step 1: Download VS Code
- Go to the official site of Visual Studio Code..
- Click Download for Windows.
- It will automatically begin to download the setup file (VSCodeSetup-x64.exe).
Step 2: Install VS Code
- After the downloading process is done, open the installer.
- Accept the license agreement and Next.
- Select your installation directory (usually ok).
- Choose other types of tasks such as:
Add to PATH (recommended)
Register VS Code as an editor of preferred file types.
Create a desktop icon. - Click Install, and the setup will take place.
Step 3: Launch VS Code
Installation Complete: Launch VS Code at:
- The Start Menu, or
- Using Command Prompt (added to PATH) code typing.
- You now have a full-fledged VS Code on your Windows system.
VS Code Setup on Mac
It is slightly different and just as simple to install on the Mac.
Step 1: Download VS Code
- Visit the VS Code official website..
- Click Download for macOS.
- You will be downloading a .zip file in your system.
Step 2: Install VS Code
- Open the downloaded .zip file.
- Drag the Visual Studio Code.app file to your applications folder.
Step 3: Add VS Code to PATH
Opening VS Code setup in the terminal with the use of the code command:
- Launch VS Code.
- Command palette: Press Cmd + Shift + P.
- Type and select Shell Command: Install code command in PATH.
- This enables you to access folders and files on the terminal, which is essential to developers.
Step 4: Launch VS Code
You can now start VS Code from:
- Application Visual Studio Code, or
- Entering a terminal code .
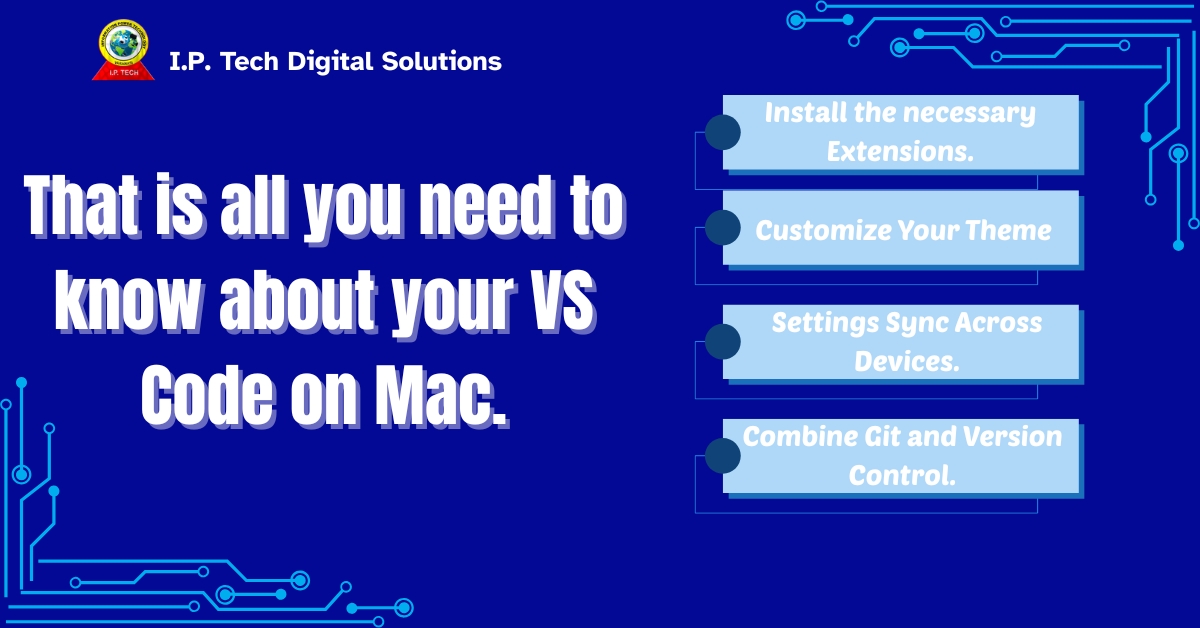
That is all you need to know about your VS Code on Mac
After installation (Mac and Windows)
Installation Once VS Code is installed, there are several steps that can be followed to increase your development experience.
- Install the necessary Extensions.
- The extension is the real strength of VS Code. To install:
- On the sidebar, click on the Extensions icon (or press Ctrl + Shift + X / Cmd + Shift + X).
- Search and install useful extensions:
- Python (Python development)
- Prettier (code formatter)
- ESLint (JavaScript linting)
- Live Server (for web projects)
- GitLens (Enhanced Git Integration)
- Customize Your Theme
- VS Code setup can be customized to any color theme that you like:
- Open File Preferences Color Theme (or Cmd+K Cmd+T on Mac).
- Use built-in or install such themes as One Dark Pro, Dracula, or Material Theme.
- Settings Sync Across Devices.
To ensure you can restore extensions, preferences, and key bindings to any of your multiple devices, turn on Settings Sync to save your settings to your Microsoft or GitHub account.
- Turn on Type Settings Sync. Open Command Palette Type Settings Sync.
- Combine Git and Version Control.
- VS Code setup is supported by Git:
- Create a new repository with Source Control View.
- Push, push, and pull to the editor.
- It is also easy to connect to GitHub, GitLab, or Bitbucket.
The top ten VS Code set-up headaches and resolutions
- Problem, Potential root cause, Remedy.
- code command unrecognized, PATH incorrectly set. Reinstall the shell command in PATH.
- Extensions that do not install Network constraints: Install offline or verify proxy settings
- Slow startup, Unused extensions, Disable unused extensions
Language errors, syntax missing, and language support. Install the appropriate language extension
Hacks to Become an Effective VS Code User
- Quick actions: Use Command Palette (Ctrl + Shift + P).
- Divide the view of the editor to edit more than one file at a time.
Learn key shortcuts like:
- Ctrl + P / Cmd + P → Quick file open
- Ctrl + / / Cmd + / → Toggle comments
- Ctrl + B / Cmd + B → Show/hide sidebar
These shortcuts and settings will make your VS Code environment productive.
Conclusion
The process of configuring VS Code setup is easy and satisfying, whether you are on Windows or Mac. After installation, you will be able to use one of the most powerful and customizable development environments that can be found today.
The above procedures will allow you to build a viable, productive working environment by setting up your VS code on both Windows and Mac to improve your coding experience. And assuming you have not done so yet, it is high time to install VS Code and ensure that your coding productivity is brought to the next level.
Visual Studio Code setup questions (FAQ).
- What is VS Code used for?
VS Code or Visual Studio Code is a free code editor designed by Microsoft. It is also applied in developing, editing, debugging, and maintaining code of various programming languages such as Python, JavaScript, C++, HTML, and so on.
- Is VS Code free to use?
Yes, VS Code is open source and free. It is free to use and download on Windows, MacOS, and Linux without any license costs.
3. How do I download and install VS Code on Windows?
To set up VS Code on Windows:
- Visit https://code.visualstudio.com.
- Click Download for Windows.
- Run the setup file and follow the installation instructions.
- Once installed, launch VS Code setup from the Start Menu or type code in the Command Prompt
4. How do I install VS Code on a Mac?
To set up VS Code on Mac:
- Go to https://code.visualstudio.com.
- Click Download for macOS
- Open the .zip file and move the Visual Studio Code.app file to your Applications folder.
- Launch VS Code from the Applications menu or by typing code . in Terminal (after adding it to PATH).
5. What are the system requirements for VS Code?
- For Windows: Windows 10 or higher, 1 GB RAM (2 GB recommended), and 200 MB of disk space.
- For Mac: macOS 10.11 (El Capitan) or later, 1 GB RAM (2 GB recommended), and 200 MB of disk space.